How To Install Craft CMS In cPanel
Home / Blog / How To Install Craft CMS In cPanel

One of the main issues we ran into when developing sites in Craft CMS was learning how to install the sites into cPanel. While it is a good practice to utilize local dev environments and git repositories, that is not practical for all websites. WHM and cPanel come with lots of prebuilt server management tools that can make hosting lots of smaller sites significantly cheaper and easier. WHM allows you to install several websites into a single VPS or dedicated server much cheaper and easier than most other solutions. You also usually get server management, automated backups, and helpful customer service at a significantly reduced cost. If you are going to utilize WHM and cPanel for your Craft websites please only use reputable hosts that are fast, secure, and have good reputations. Craft CMS sites are only as good as you build them and you do not want to sacrifice good hosting for reduced costs.
If you have a WHM account are are creating multiple cPanel accounts then start here. Otherwise proceed to Step Two: Preparing Your cPanel For Craft CMS.
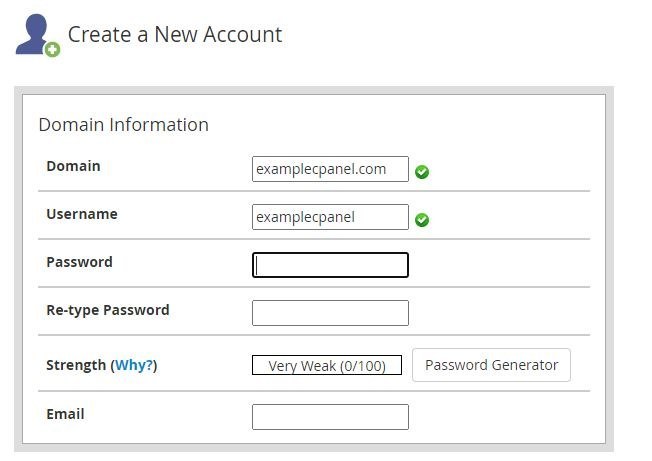
Once you load WHM go to List Accounts and click on "Create a New Account". The domain you put here does not matter - it is for your information and verification only. Because Craft CMS is loaded into /public_html and operates from the /public_html/web folder your real domain will later be an addon domain with your actual domain name. In this case we used examplecpanel.com, but use whatever makes the most sense for your project.
After creating the account you need to modify the cPanel account in WHM to allow for addon domains. If you do not do this you won't be able to add on the actual domain you are going to use for your project.

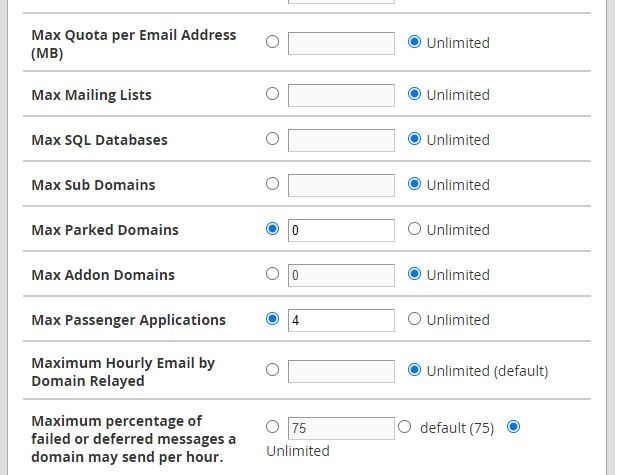
We usually change this to Unlimited Addon Domains, but change it to whatever makes the most sense for you (that is not zero).
After creating your cPanel account you need to make some changes before you will be able to load Craft CMS into the cPanel.
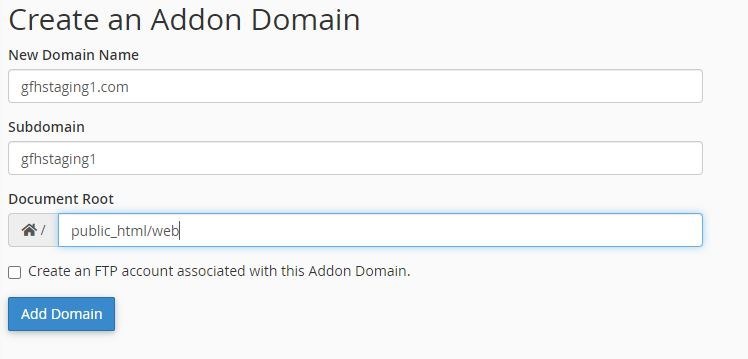
Inside cPanel click on Addon Domains under the Domains panel. Here is where you will enter your domain information. Important! Be sure to change the Document Root to /public_html/web as shown in the picture. If you don't have the correct document root then Craft CMS won't install or work correctly.
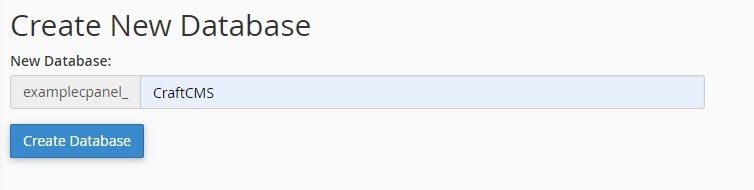
Find MySQL® Databases under the Database panel in your cPanel. You want to create a new database - call it whatever makes sense for your project.
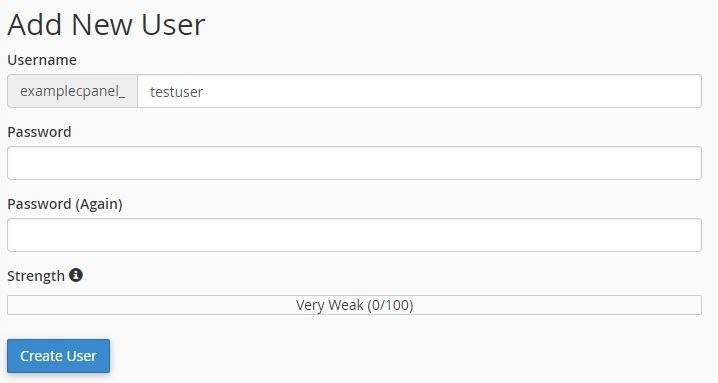
After creating the database you need to add a new user. Be sure to use strong usernames and passwords.
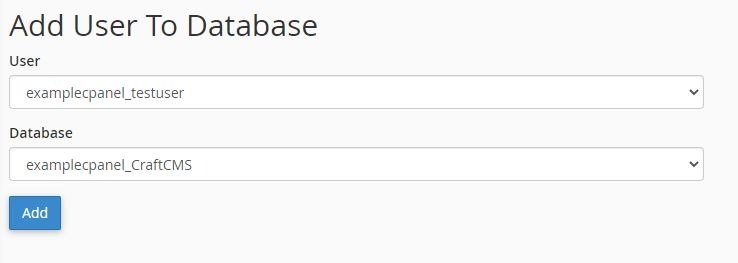
Once you have created the database and created a new user you need to add the corresponding user to the corresponding database. Don't forget this step, it is the one we forget the most often. Enable all privileges for the chosen user and remember to save by clicking Make Changes after All Privileges has been selected.
Once you have prepared your cPanel by creating your database and adding your domain you need to download and install Craft CMS into the File Manager. To download Craft CMS go to https://craftcms.com/. The download link is usually under Try Craft For Free and then Install Craft. On the Install doc you want to download the zip file. Remember this page because it can be good for troubleshooting if you run into errors later.
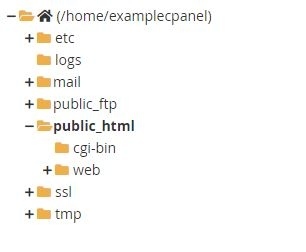
Find the File Manager under the Files panel and then select the public_html folder. Upload the Craft CMS zip file into the public_html folder. After the zip file has been uploaded select the file and extract it into the public_html folder.
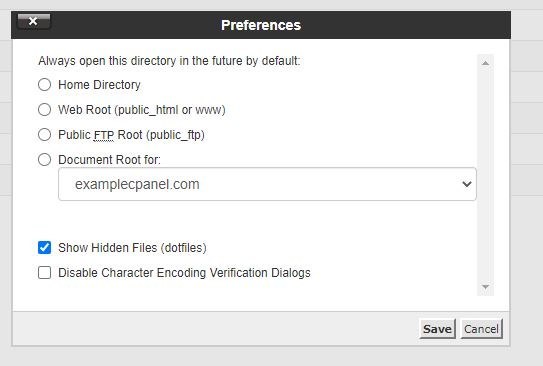
Once Craft CMS has been unzipped into the public_html folder you can delete the Craft CMS zip file. This is not a necessary step for the project to work, but deleting it will save space and keep your project cleaner later. Click on Settings at the top right of File Manager and check Show Hidden Files. If you don't do this you won't be able to see or find the .env file that you need to edit to add your Craft CMS credentials.
The .env file that you need to edit to add your Craft CMS credentials should be located in the /public_html folder. Note: You won't be able to see the .env file unless you have changed the setting to show the hidden files as outlined in the step above.

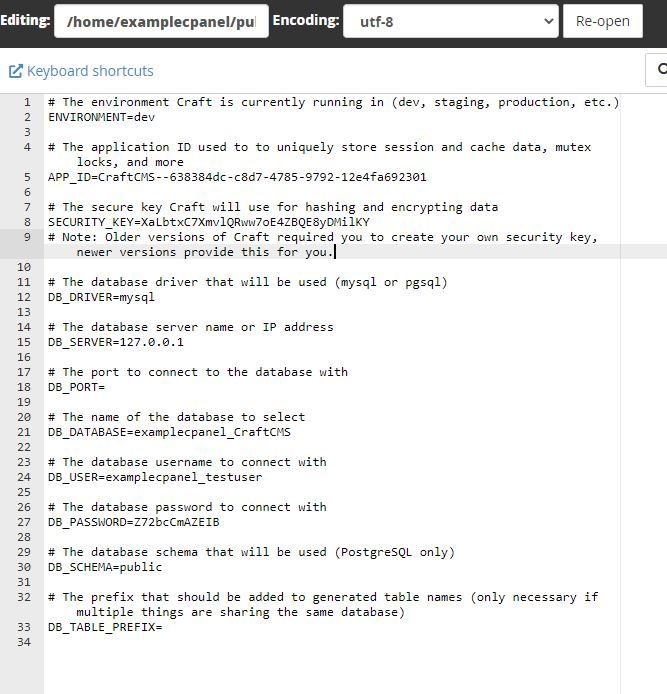
In the .env file you need to change 3 things. 1. change DB_DATABASE to equal the database you created earlier. 2. Change DB_USER to the database user you created earlier (and hopefully added to the database with all privileges). 3. Change the DB_PASSWORD to the password you set up for the database user you added to this database. Special Note: Older versions of Craft CMS required you to create your own SECURITY_KEY, but newer versions have this set up for you. You can change this to your own key, or generate one from https://randomkeygen.com/.
Please note that if your php version in composer.json is different than the php set for your server then you will get installation errors. In cPanel you can change your php version under MultiPHP Manager. In Craft make sure composer.json php: is equal to the same php in MultiPHP Manager. Later versions of Craft do have minimum php requirements. If you need to install php 8+ you will need to contact your hosting provider.
If you have followed all steps correctly then you should be able to go to add /index.php?p=admin/install to the end of your URL, as shown in the image, to install Craft CMS.


If everything was done properly you should see this screen and be able to proceed. If this is not what you see then you will need to troubleshoot and see where things went wrong.
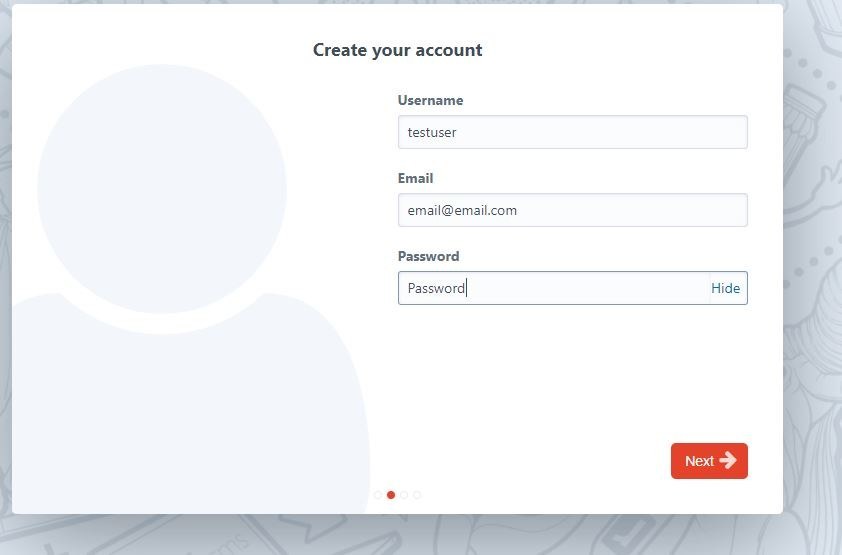
If the database information is correct then you should go straight to the Create Your Account screen. If not, you will have to change the database information to match what you created. Your username is the username you will use in the Craft CMS admin panel, by default it will be created as an admin account. Be sure to use a safe email so people cannot access your Craft CMS admin panel.
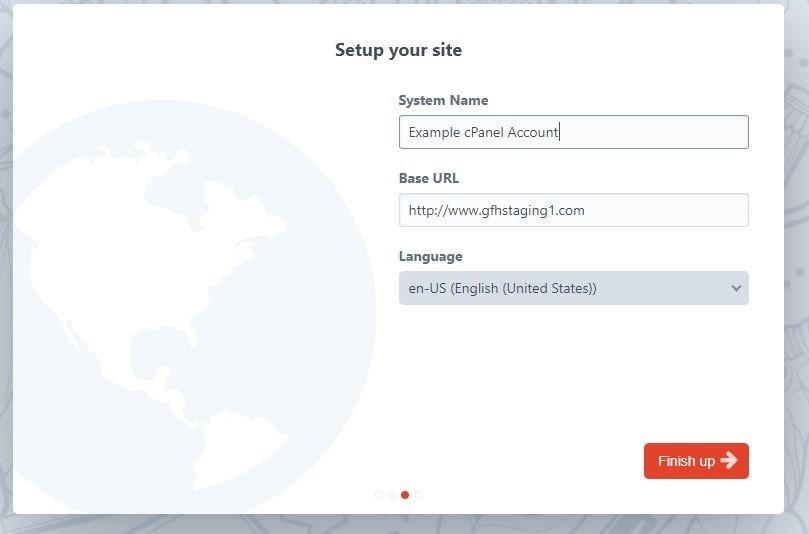
Set up your site with your system name and base URL. The System Name will show in the top left of the Craft CMS user panel. The Base URL can be easily changed later, so don't worry if this is just your building URL, you can change it once the site goes live.
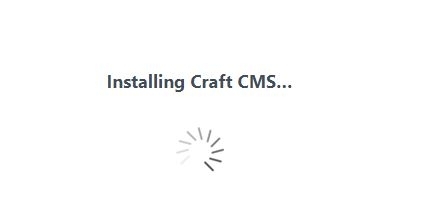
If everything works properly then you should see the Installing Craft CMS... message shown here.
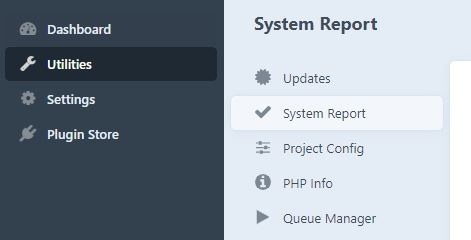
After Craft has been installed you want to check the Utilities panel. Go head and install the updates, if there are any. Then check the System Report to ensure your php is properly setting up to run Craft.

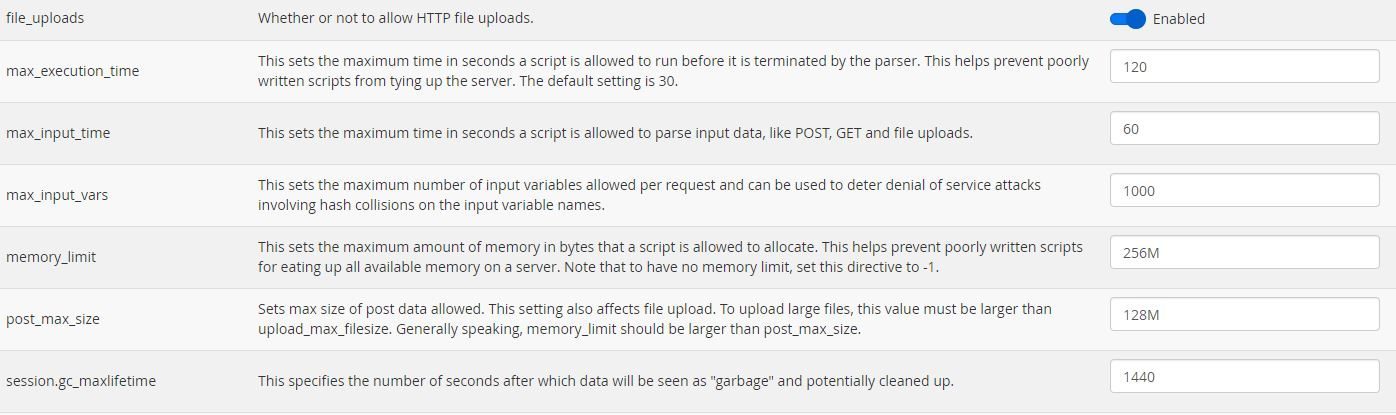
We usually get warnings for our Memory Limit and Max Execution time as shown here, but your report may show different things.
Find the MultiPHP INI Editor under the Software panel in cPanel. You will want to change the values of your php settings to correspond to the Craft CMS requirements. We usually have to change the max_execution_time to 120 (seconds) and the memory_limit to 256M.
Your Craft CMS project should now functional and ready to go. You can now install your plugins, set up your dev environments, and customize your install for however you prefer to work. If you need to test the Craft CMS Pro for user accounts, GraphQL, or other features only on the Pro account you can install Craft CMS onto a subdomain using these rules: https://craftcms.com/knowledge.... You will also want to go to root WHM to enable autobackups for all your cPanel installations - sometimes you have to request root access from your host.